Installing a Satellite Monitoring Service
To install a Satellite Monitoring Service
- Be sure that you have completed the Installation Prerequisites before installing your first Satellite Monitoring Service.
- On the computer on which you want to install a Satellite Monitoring Service, open a browser, and connect to your Central Monitoring Service using the following URL:
https://[computername]:[port number]
where computername is the name of the computer where the Central Monitoring Service is installed, and port number is the
HTTPS port that the service exposes (See Installation Prerequisites).
- On the login page there is a small link below the credential window with a link for "Satellite Installer". Download and run the setup program.
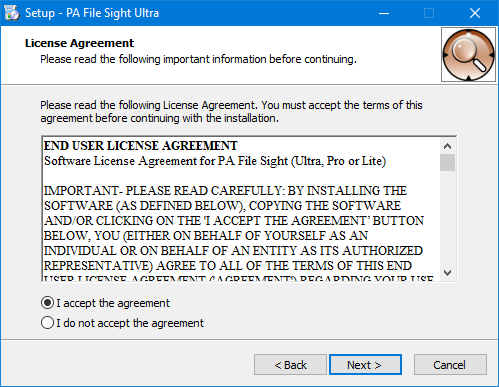
- The License Agreement page will appear.

- Click Next to advance through the wizard, accept the license agreement, select a destination location, and then display the Select Components page.
- Select the Satellite Monitoring Service option.
Note: If you don't have access to a remote Console, select the Console User Interface option as well.
- Click Next repeatedly while accepting all the defaults.
- Ensure all options are selected on the Completing the PA File Sight Setup Wizard page, and then click Finish.
The Configure Satellite Monitoring Service window will appear.
Next, Configuring a Satellite Monitoring Service.
