With the release of Windows Server 2012 Microsoft introduced several new features to its high availability technology. In this article we will start discovering some of these new technologies and we’ll see how they’ve improved the overall functionality of failover clusters. Among these new features introduced with Windows Server 2012 are: cluster shared volumes, cluster storage pools, node drain, cluster-aware updating and dynamic quorum. Windows Server 2012 allows you to build clusters with up to 64 nodes instead of 16 that were supported by Windows Server 2008.
Note that I’m still in the process of learning about these features so I may not cover all aspects from each of them. Still, this article should serve you as an introduction of failover clustering in Windows Server 2012 Edition and I encourage anyone to comment and add suggestions to this article. For this demonstration I will use two virtual machines hosted in my VMware testing environment. Note that both machines must have failover cluster feature installed with a two node cluster running.
Cluster Shared Volumes
CSV is a storage type introduced with Windows Server 2012 Edition that allows you to provision a storage that’s accessible by multiple cluster nodes at the same time. In previous Windows Server Editions, a LUN would have been accessed by a single machine at any point in time. To avoid any error that could occur, each role would have been assigned to another LUN to ensure that each one is isolated in case a failover needed. The disadvantage of is method was that you had to use one LUN for each clustered role thus added complexity in the cluster’s design. With CSV, a LUN can be accessed by multiple nodes at the same time so the overall complexity of the storage layout is lowered. CSV allows simultaneous access by creating a VHD (Virtual Hard Disk) for each role configured for high availability. These VHDs are then mapped to each node so they are accessible from any part of the cluster. The VHDs are formatted using NTFS but visible within the OS as CSFVS (Cluster Shared Volume File System).
To create a CSV you must first provision a disk from the local storage subsystem, create a volume on the disk and then assign it to the desired cluster. Once the disk has been assigned to a cluster you can then add it to the Cluster Shared Volume.
Cluster Storage Pools
This technology allows you to configure storage pools from SAS (Serial Attached SCSI) disks. This method is similar to the Storage Pool role that was also introduced with Windows Server 2012. We’ve discussed about Storage Pools in a previous article so make sure to check out this post. With Cluster Storage Pools you combine the size of one or more SAS disks into one or more storage pools. You can then use storage pools to create virtual disks that you can then partition and assign to your failover clusters. There are some requirements needed to be fulfilled before you can create a storage pool so make sure the following things are met:
As we’ve mentioned before you can create storage pools only from SAS disks that are not boot disks.
The disks cannot be shared between multiple storage pools so one disk is dedicated to one storage pool.
Also note that a minimum of three disks are required for a storage pool.
In terms of RAID configurations only simple, mirroring and parity are supported on disks part of a storage pool.
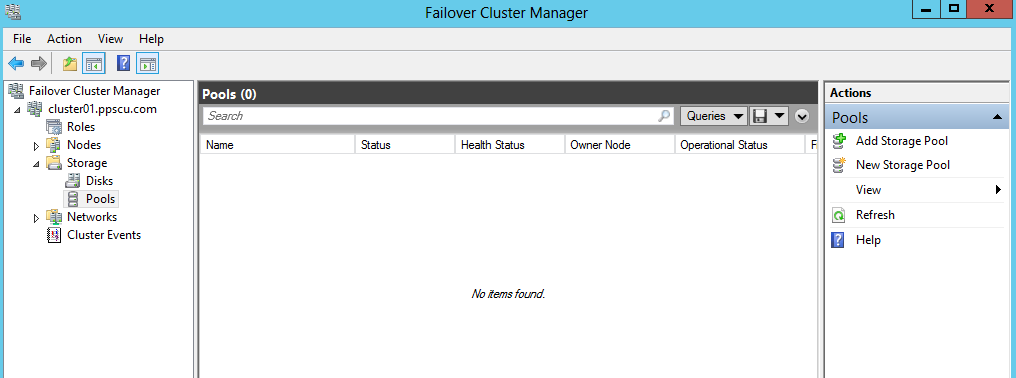
Storage pools can be configured by accessing the Storage Pools section in Failover Cluster Manager console. Click the Add Storage Pool button to start the wizard:
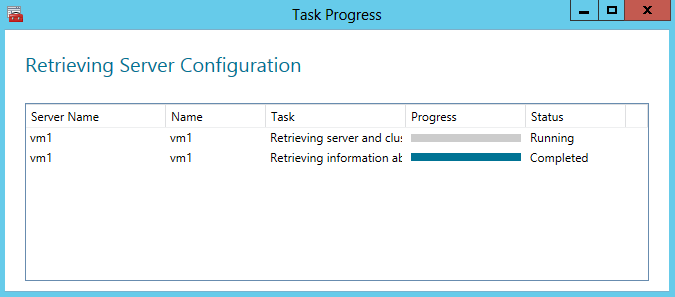
The wizard will conduct a test to determine what physical SAS disks can be used to create the storage pool.
Set a name and description for the new storage pool and select the primordial pool from which disks will be used to create the pool:
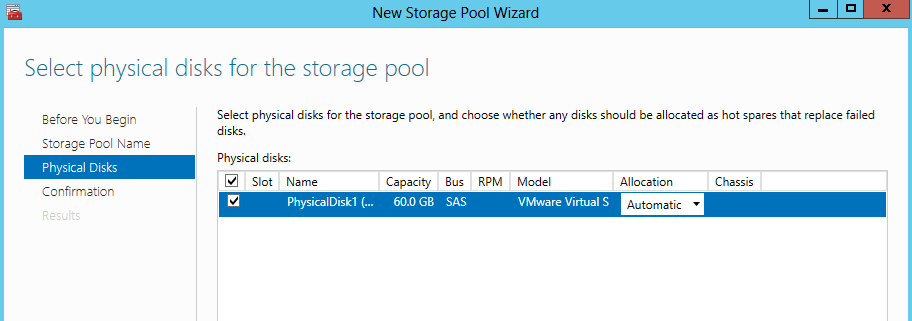
Now proceed further and select what disks will be used:
Once the storage pool has been created you can proceed further and create virtual disks and volumes and assign them to your cluster.
Dynamic quorum
If you haven’t worked before with failover clustering in Windows Server you should now that quorum is a “voting” mechanism that allows servers part of a cluster to determine how many failures of nodes, disks or file shares can a cluster sustain. If too many failures occur within the cluster, the nodes must stop running because this may lead to a so called cluster split. A cluster split occurs when groups of nodes cannot communicate with other nodes part of the same cluster. Imagine that you have a cluster with 6 nodes and a network failure occurs resulting in a malformed communication between cluster nodes. In such scenario three nodes could communicate with each other but not with the rest of nodes thus the overall cluster performance is degraded. There are also scenarios in which nodes form a group majority within the cluster and continue running while they cannot communicate with the rest of them. The quorum behavior is dictated by the number of nodes and the quorum configuration which can be one of these:
· Node majority
· Node and disk majority
· Node and share majority
Windows Server 2012 introduced dynamic quorum in which the number of votes needed to reach the needed quorum is modified automatically when changes occur within the cluster. This feature allows even half of the cluster nodes to fail without affecting the cluster behavior. With dynamic quorum a cluster can function even with one running node.
Cluster Aware Updating
Allows you to perform updates on cluster nodes much faster. In previous Windows Server Editions you would had to manually stop a node, move its roles, update it and then perform a reboot on the machine. In a multi-node cluster this operation would require a long period of time because servers would have been restarted one by one to minimize downtime. Windows Server 2012 allows you to build 64 node clusters so the method of updating servers manually was no longer feasible. Microsoft introduced cluster aware updating which enables you to perform updates on all nodes part of a cluster simultaneously:
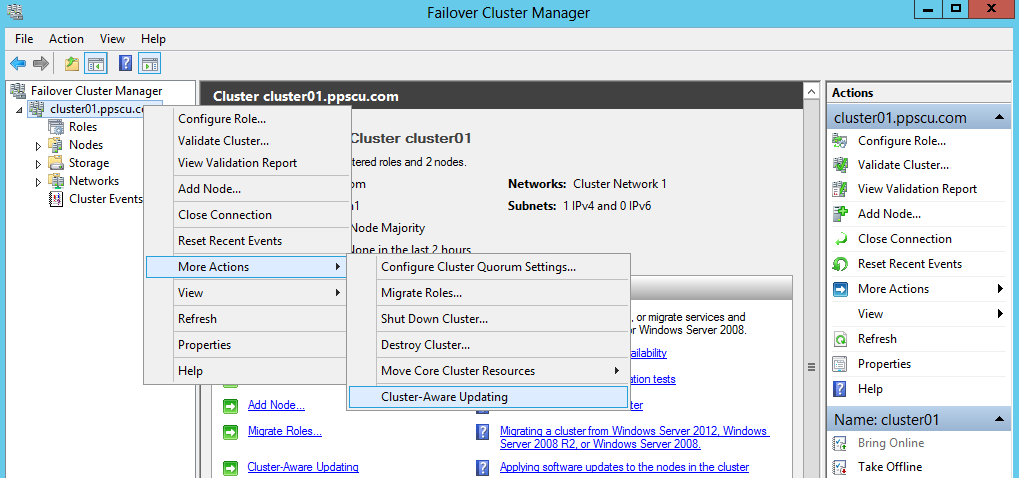
To activate and configure cluster ware-updating right click on the cluster name, navigate to More Actions menu and select Cluster-Aware Updating:
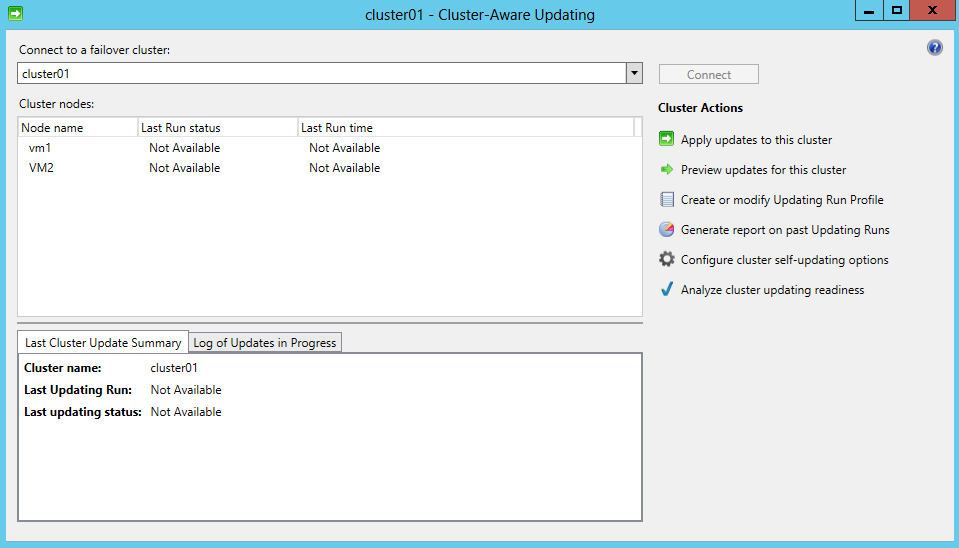
From the Cluster-Aware Updating menu you can perform multiple operations as seen in the following image:
Node drain
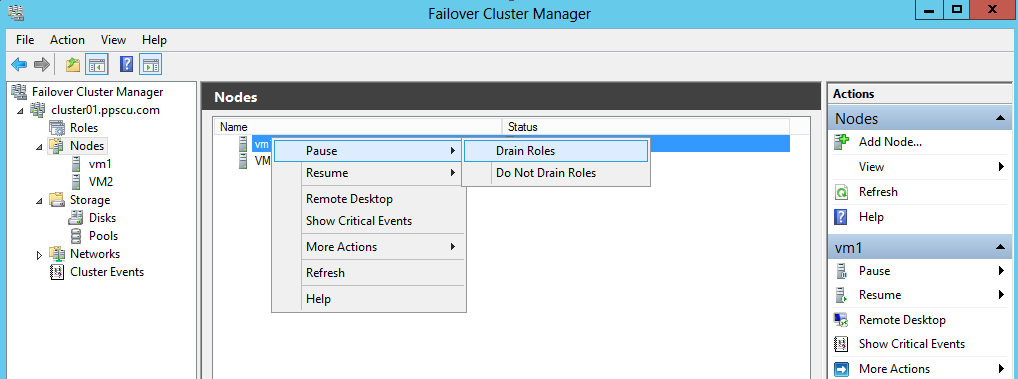
This feature allows System Administrators to easily take out a node from the cluster to perform maintenances. The Drain Roles allows you in a single operation to pause a node and move all its roles to the remaining nodes. The same operation ca be executed much faster by using Powershell. In Windows Server 2008 you would have been able to achieve similar results by performing two operations manually: first, pause the node and the move all its applications to another node part of the same cluster.
That’s about it for this article folks, hope you’ve understood these new features introduced with Windows Server 2012. If you have any questions related to this article please don’t hesitate to post a comment in our dedicated section and I’ll try to respond as soon as possible. Wish you all the best and stay tuned for the following articles from our blog.
