Having just struggled with this for a while, I thought I’d record the steps I took. They’re pretty easy once you figure them out (isn’t it always that way!).
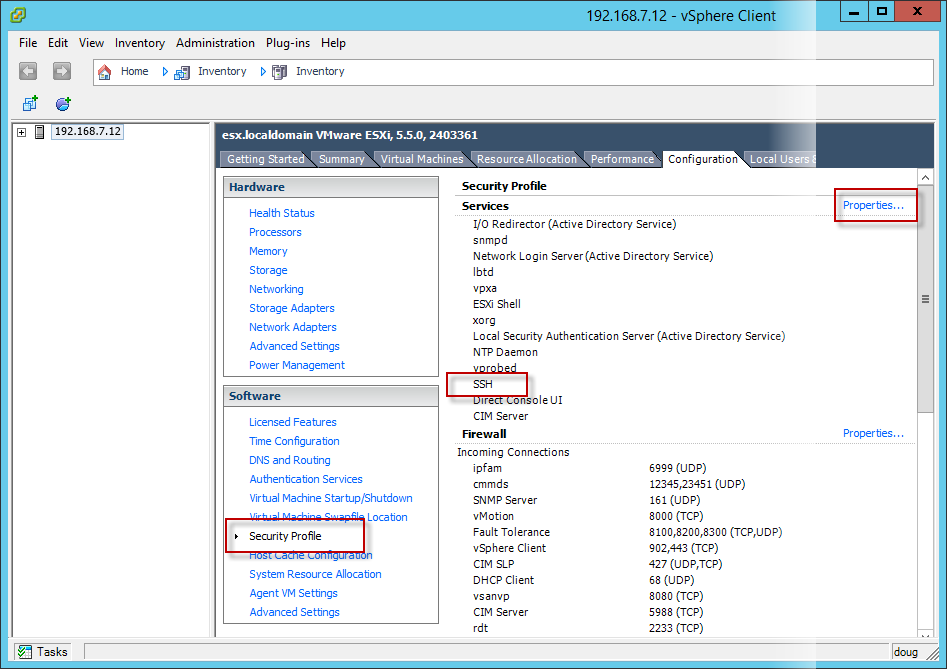
First, we need to enable SSH connections to our ESXi server. In the vSphere client, go to Security Profile. If you don’t see SSH, you can enable it by going to Properties and then starting the service.
Next, you need to generate a public/private key pair. The easiest way to do this is to download PuTTYgen from http://www.chiark.greenend.org.uk/~sgtatham/putty/download.html![]() . While you’re there, grab PuTTY as well.
. While you’re there, grab PuTTY as well.
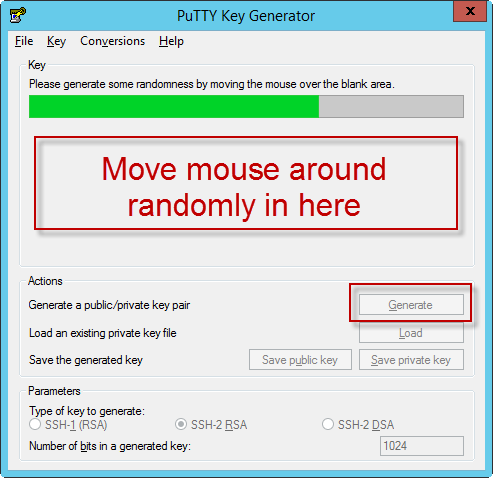
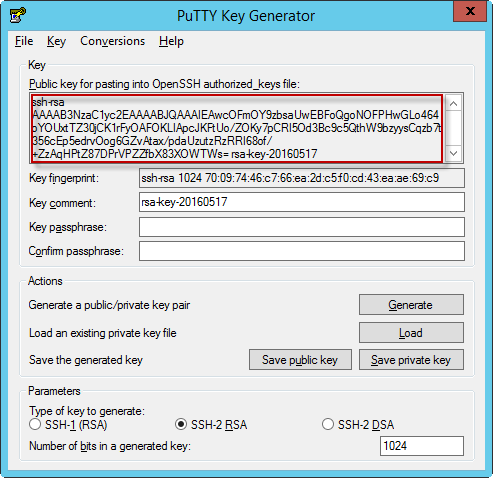
Launch PuTTYgen. The default SSH-2 RSA key type is good so leave that alone. Press the Generate button to get started. Wiggle the mouse around randomly to help it get some random data to create the keys with as shown below:
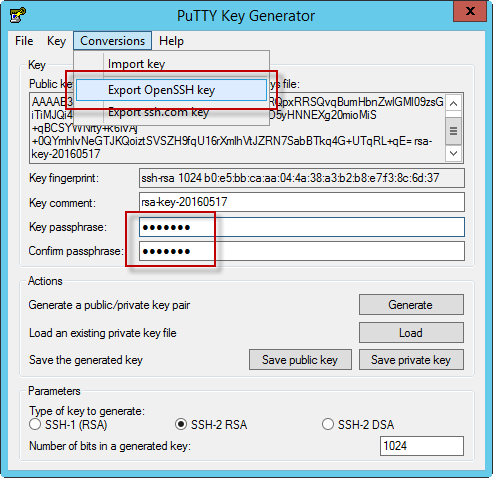
Once PuTTYgen has enough data, it will create some keys and show them in it’s display.
You should save the public and private key files. I recommend giving them a passphrase first. Many applications (like PA Server Monitor!) use keys in the OpenSSH format, so save those via the Conversions menu.
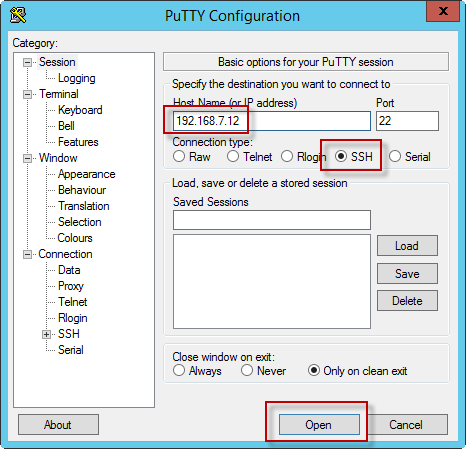
Now we need to get the public key over to the ESXi server. Run PuTTY that you also downloaded and connect to your ESXi server. You’ll need the username/password that you connected to it with vSphere to login.
According to VMWare Knowledge Base Article 1002866![]() , the public key has to be copied to /etc/ssh/keys-<username>/authorized_keys
, the public key has to be copied to /etc/ssh/keys-<username>/authorized_keys
So, change directory, and create the target folder as needed as shown below (I’m using keys-doug because I will login as user doug)
Now to fire up everyone’s favorite vi!
Type: vi authorized_keys {enter}
You’ll see an empty vi window.
Go back to PuTTYgen and copy the Public Key
In the vi window press ‘i‘ (no quotes). You won’t see any change, but you’ve just entered ‘insert mode’. Right-click in the window and the key you copied will get pasted.
Now type: {escape}:wq{enter}
That will (w)rite the file and (q)uit vi.
You can close your PuTTY session now.
Your ESXi server is now ready to be connected to using only a username and Public/Private key files!
