 In this article I will show you how to install and configure NAP with Dynamic Host Control Protocol (DHCP) enforcement. You may already be familiar with DHCP which is a service used to allocate network parameters automatically and offers a centralized way to manage your network devices. NAP is a security mechanism offered by the Network Policy and Access Server Role that helps you in managing the health and security of the network. With NAP you can define how computers receive network access based on their System health.
By creating benchmarks that define how computers get network access, you protect your network from a potential virus or external security attack. With NAP you can ensure that before computers get network access they have the latest updates installed, the Windows Firewall is configured and activated, the antivirus is updated and running and so on.
NAP uses System Health Agents and Validators to check the health of network devices against the criteria configured on the NAP Server. SHV (System Health Validators) are used to specify the conditions that a NAP client must meet before network access is granted. SHA (System Health Agent) is a component used to check if a certain NAP client meets the requirement configured on SHV. With Windows Server 2008 and newer editions you can configure four types of NAP enforcement: IPSec, VPN, 801.1X and DHCP which we will discuss in this article.
For this demonstration I will be using a Windows Server 2012 machine that is already hosting the DHCP service. For testing purposes I recommend always using a Virtual Machine because you can easily rollback to a previous state if any problems occur.
Login on the machine and open the Server Manager console. Now click on Add roles and features button and select Network Policy and Access Services from the available roles list:
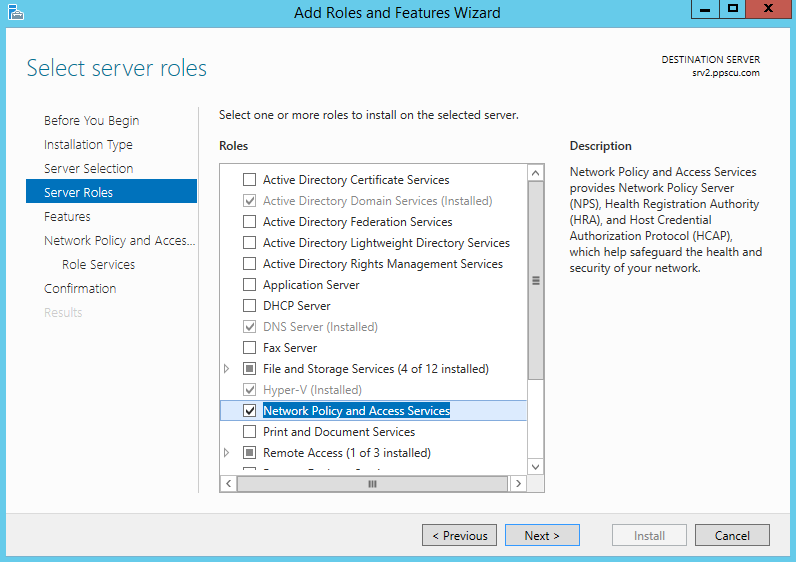
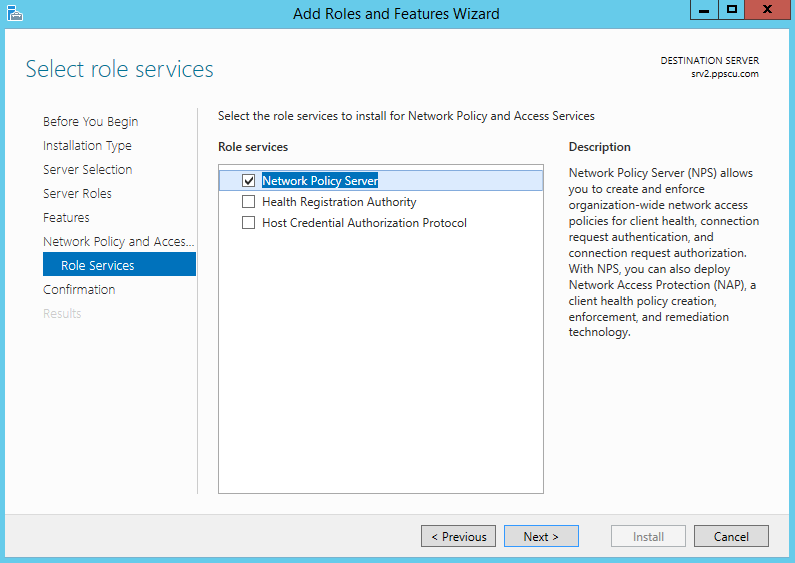
Once you’ve selected the Role, proceed to the following section by clicking the Next button. Select Network Policy Server and click the Install button:
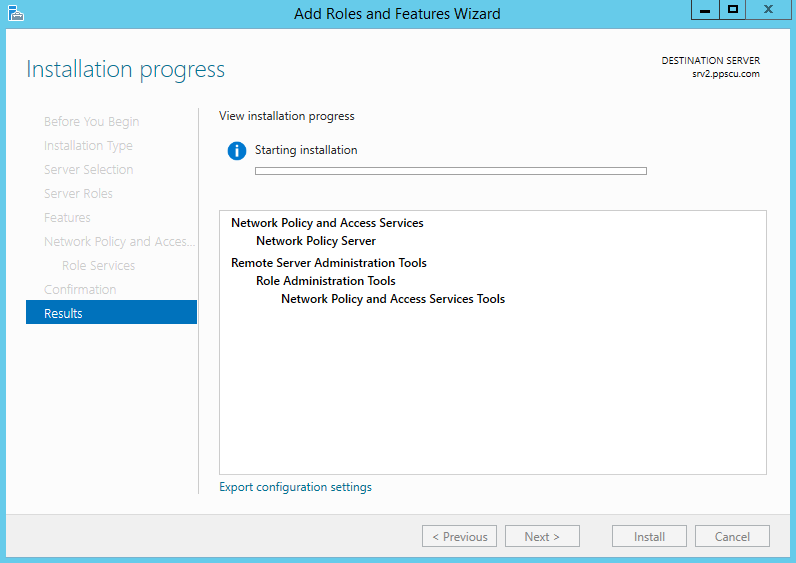
Wait until the installation is completed and then close the Wizard.
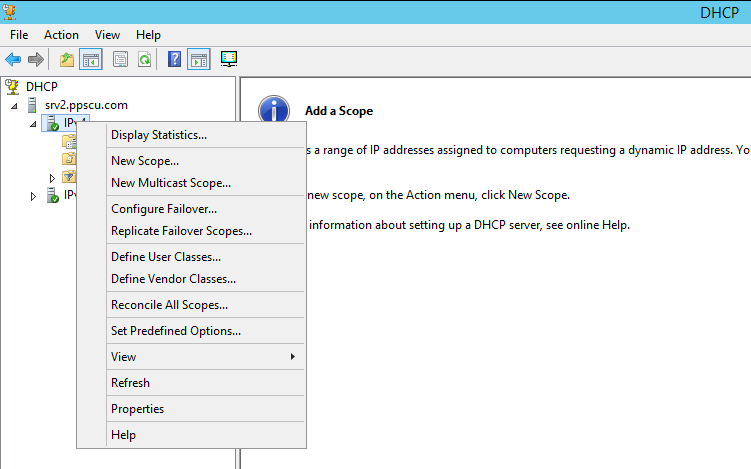
From Administrative tools open the DHCP console and expand the IPv4 section. Now right click and select New Scope
Once the wizard has started, type in a Name and Description for the new policy and then set the IP Address Range for the scope. I’ll configure the rage to 10.10.10.50 – 10.10.10.100 and set the network mask to /24 or 255.255.255.0
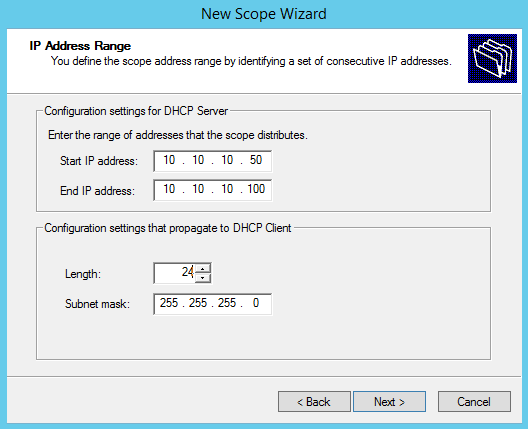
We will not configure any exclusions, delays, lease duration or other options for now so please press Next three times and then select No at I will Configure These Options Later panel.
Now that our scope is prepared, open the Network Policy Server console from Administrative Tools and select Configure NAP to start the wizard.
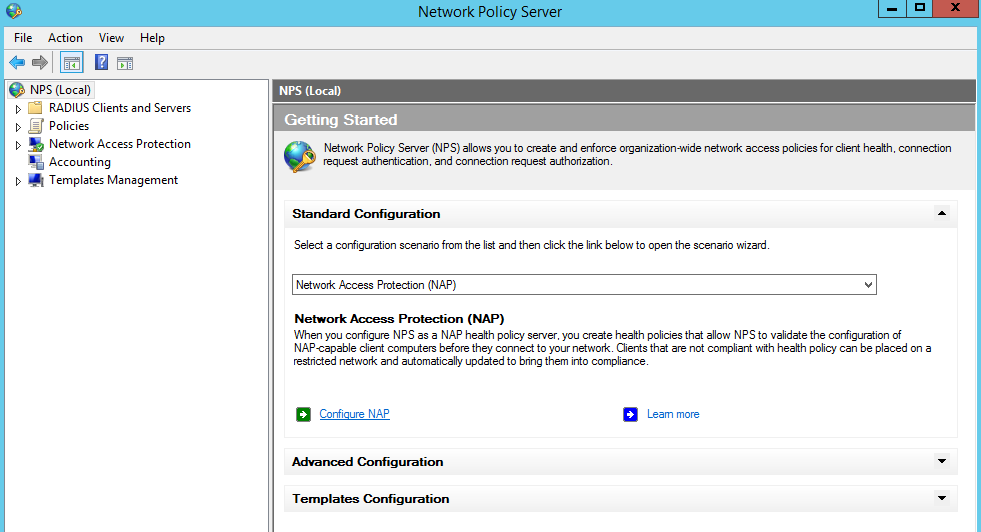
From the drop down list select Dynamic Host Control Protocol (DHCP) and set a name for the NAP policy.
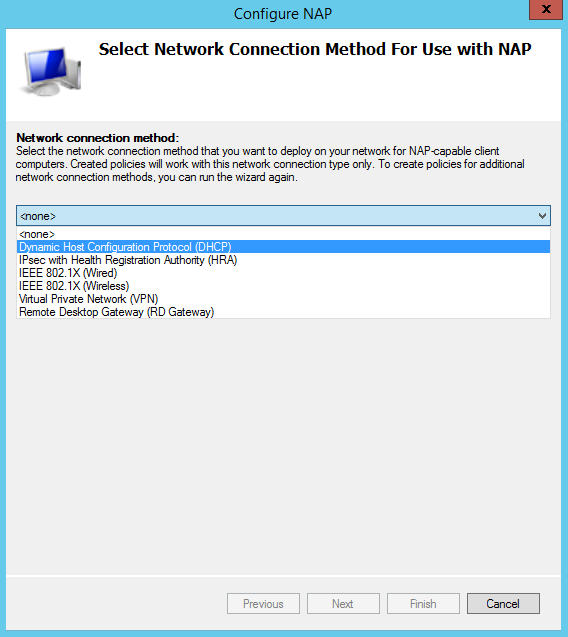
For our testing environment we will not be using a RADIUS server so skip this page and proceed with the next section.
We’ll need to add our newly created DHCP scope to the NAP policy. Click the Add button and enter the DHCP scope name.
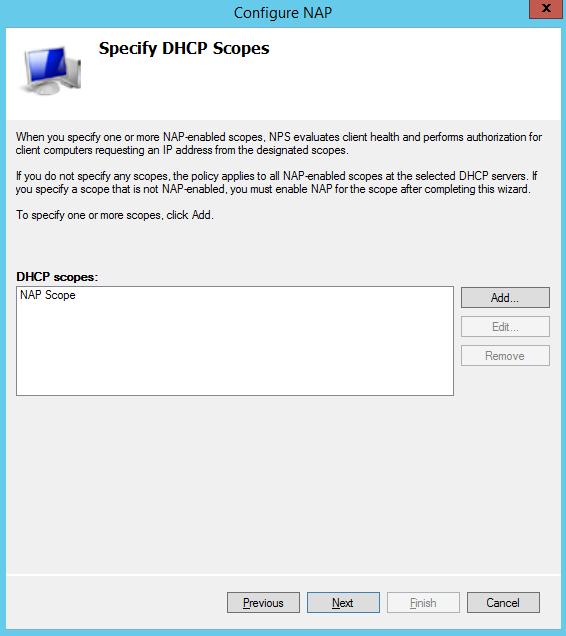
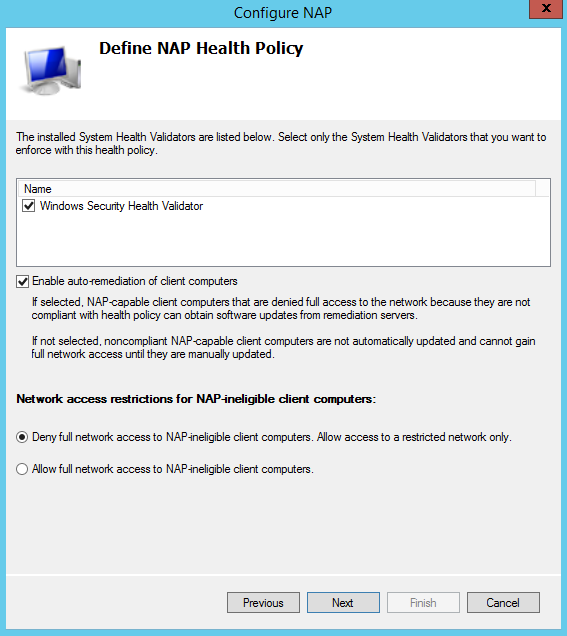
Skip the following two sections and on the Define NAP Health Policy page deselect Enable auto-remediation of client computers. Windows Security Health Validator is selected by default because this is where we define the NAP criteria. All NAP ineligible clients will be denied network access:
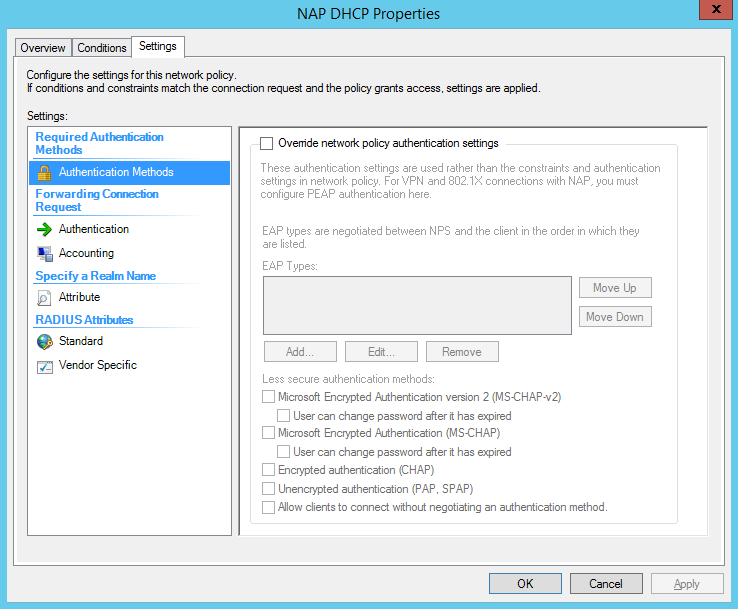
Our Connection Request Policy will be added on the NAP server. You can further configure its options if you right click it and select Properties.
The Windows Security Health Validator can be configured from the Network Access Protection section:
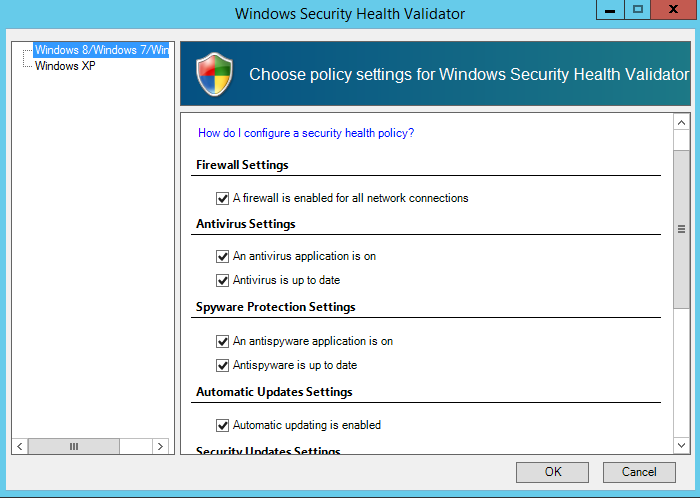
You should now have a DHCP NAP enabled server capable of granting or rejecting clients based on the settings specified in the SHV. As you can see, NAP can be installed and configured pretty easily and should provide you an extra security layer within the network. We can also configure Remediation Server Groups which can be capable of delivering the latest updates to rejected clients. If you think that there are other things that should be mentioned here, don’t hesitate to use our comments section. Wish you a great day folks!
