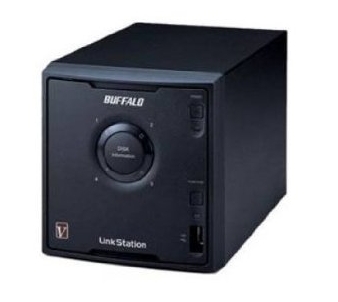
 We got a little NAS device to play around with, do some back ups to, etc. The Buffalo LS-QV4.0TL/R5 comes with 4 x 1TB drives, but we wanted some more space, so we replaced the 1TB drives with 2TB drives. Mistake 🙁 It turns out the OS is on those drives (duh!). What you’ll see in this case is the power button blinking red 6 times (called ES6 or ES06). It’s not listed in the manual, but that error means the disks were found, but they didn’t boot. Makes sense.
There is a popular FAQ about what to do about this:
http://forums.buffalotech.com/index.php?topic=10185.0![]()
Basically the device _should_ make an tftp request to a fixed IP to download it’s boot files and then start up. We could not make that happen in this state though. After hours of scouring the internet and reading blogs and forums, we came upon a post in that same thread that held the secret:
http://forums.buffalotech.com/index.php?topic=10185.msg48409#msg48409
In particular, the boot files apparently needed to be named initrd.buffalo and uImage.buffalo.
So we downloaded and burned a Linux Mint ISO to CD. Opened a computer, disconnected the Windows drive (a little paranoia to keep it safe!) and connected the drive from the NAS. Then booted up into Linux. A few quick Google queries showed how to format the disk and mark as bootable, and then we just needed to copy the boot files. Put the drive back into the NAS and power up. Once we did that, it at least connected to the network but there was still some jumping through hoops to come.
Buffalo’s NasNavi could find the device, so we ran the firmware updater (we used firmware 1.65 — the latest at this time). Then it rebooted, still the ES06 error but was at least on the network. THEN it started pulling the boot files via tftp. When tftp works, it works quickly — the files are pulled down within a minute of the device booting up.
One more hitch – once it was booting up on it’s own and seemed healthy, it was time to connect to its web interface and configure the device. But the user interface was in Japanese 🙁 Easiest fix we could find: Use Chrome and load a translator add-on. Once that was done, we poked around the menu until we found a language setting, switched it to English, and we were finally in business.
Hope these pointers help someone else!


